Create an email template
If you send the same (or a similar) email message repeatedly during the school year, create an email template. You can edit the template's message and recipients, as needed, each time you use it. Create templates for your own use, or to share with others in your school.
| Note: You can copy a template and edit the copy, while keeping the original intact. |
To create an email template:
-
Go to the list containing the records of the people you want to send the email message to, such as the Student List.
Notes:
-
Narrow down this list of records using Show Selected, Omit Selected, a query
 a request to find a group of records that match specific criteria at a particular time, a filter a set of criteria to selectively screen out incoming information, such as "all active students" or "former students",
or a snapshot a static picture of a particular group of records that you can file and easily retrieve. Note the number of records
in the record counter.
a request to find a group of records that match specific criteria at a particular time, a filter a set of criteria to selectively screen out incoming information, such as "all active students" or "former students",
or a snapshot a static picture of a particular group of records that you can file and easily retrieve. Note the number of records
in the record counter. -
There are only two direct recipients of your email message – the sender and the
-
- Select Options > Send Email. The
Mass Email pop-up appears.
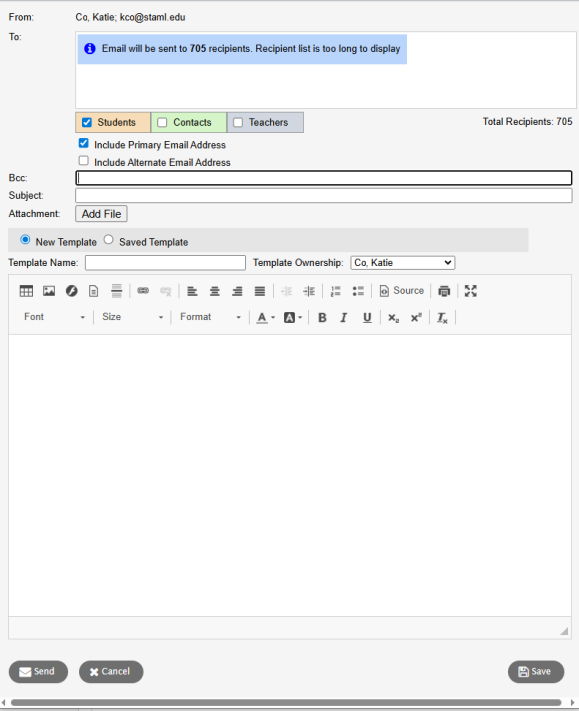
- Use the following table to fill in the fields:
-
Field
Description
From
This address is the primary email address listed in your user preferences.
To
The names of the recipients who will receive the message appear.
Notes:
-
If you click Send while there are no addresses in the To field, a warning message appears. This can occur if you manually delete all addresses by clicking the x in the corner of each address, for example, or if you open the Mass Email pop-up after creating a query that returns no results.
-
The district has a log of every email sent and the list of recipients, but there is no list of invalid addresses.
Students/Contacts/Teachers
Use these checkboxes to select or deselect the recipients of the email: students, their contacts who opted to receive email (according to the student contacts details page), and their teachers.
Note: Within a subset of email addresses, you can delete a particular address by clicking the x in the corner. The Total Recipients number updates accordingly. Select this checkbox if you want to send your email to the primary email address(es) of the recipient(s) included in the To field.
Note: This checkbox might be selected by default, depending on your Select this checkbox if you want to send your email to the alternate email address(es) of the recipient(s) listed in the To field.
Note: This checkbox might be selected by default, depending on your Subject
Type a subject for your email message.
Attachment
If you want to attach a file to your message, click Choose File or Add File to navigate to the file you want to send.
New Template/Saved Template
Do one of the following:
-
To create a new template, click New Template.
-
To use an existing email template, click Saved Template and follow these steps.
Template Name If you clicked New Template, give it a name.
Template Ownership Click this drop-down to select who will be given access to this template:
-
[Your name]: The template is for your own use.
-
[Your school]: The template is for all users at your school.
Text box
Type your message inside the text box. A rich text editor provides the following options:
- Font
- Font size
- Formatting, including bold, italics, bullets, and numbering
- Color
- Hyperlinks and images
Note: To insert an image, click
 . In the URL
field, copy and paste the URL of the image. Then click OK.
. In the URL
field, copy and paste the URL of the image. Then click OK. -
-
Click Save to save the template.
- To send the message now, click Send. Aspen asks if you are sure you want to send this message and displays the number of recipients.
-

- Click Yes or No. If you click yes, a progress meter appears.
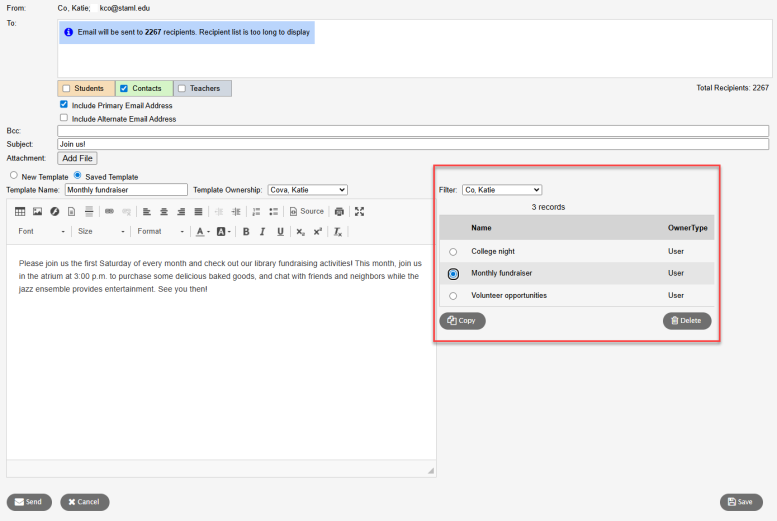
To use a saved email template:
-
Complete steps 1 and 2 above.
-
On the Mass Email pop-up, click Saved Template. The pop-up expands, displaying saved templates. The templates that appear correspond to the owner at the Filter field. If needed, click Filter to select a different owner and view those templates:
-
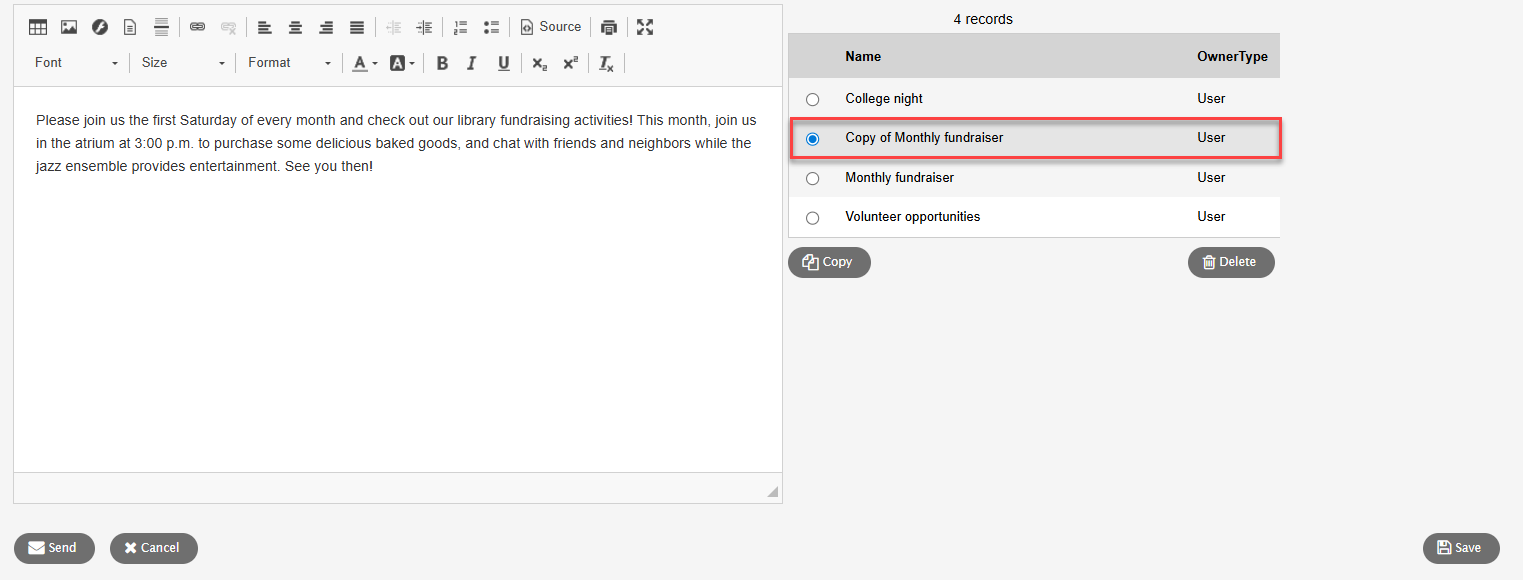
Click the name of the template you want to use. The settings and text from the original email appear on the left. You can send the email as-is, tweak the original message, or click Copy to make changes to the copy while keeping the original template intact.
When you click Copy, a new template appears in the list, named "Copy of":
-
Edit the template as needed, and then click Save.
- To send the message now, click Send. Aspen asks if you are sure you want to send this message and displays the number of recipients.
-
- Click Yes or No. If you click yes, a progress meter appears.