Add a lesson plan to a curriculum map
Add exemplar lesson plans to map topics you create.
These lesson plans become available in the
|
Note: You can initialize a lesson plan for every day of a topic. |
To add lesson plans to a curriculum map topic:
- Log on to the
- Click the Assessment tab, and then the Curriculum Maps side-tab.
- Select the curriculum map you have not added any topics to yet, and click Chart.
Note: To see any lesson plans you previously created, select the Show Lesson Plans checkbox.
- On the timeline, select the map topic you want to add a lesson plan to.
-

- The system underlines the map topic name, and outlines its bar on the timeline in red.
- Click Add Lesson Plan. The New Lesson Plan pop-up appears.
-
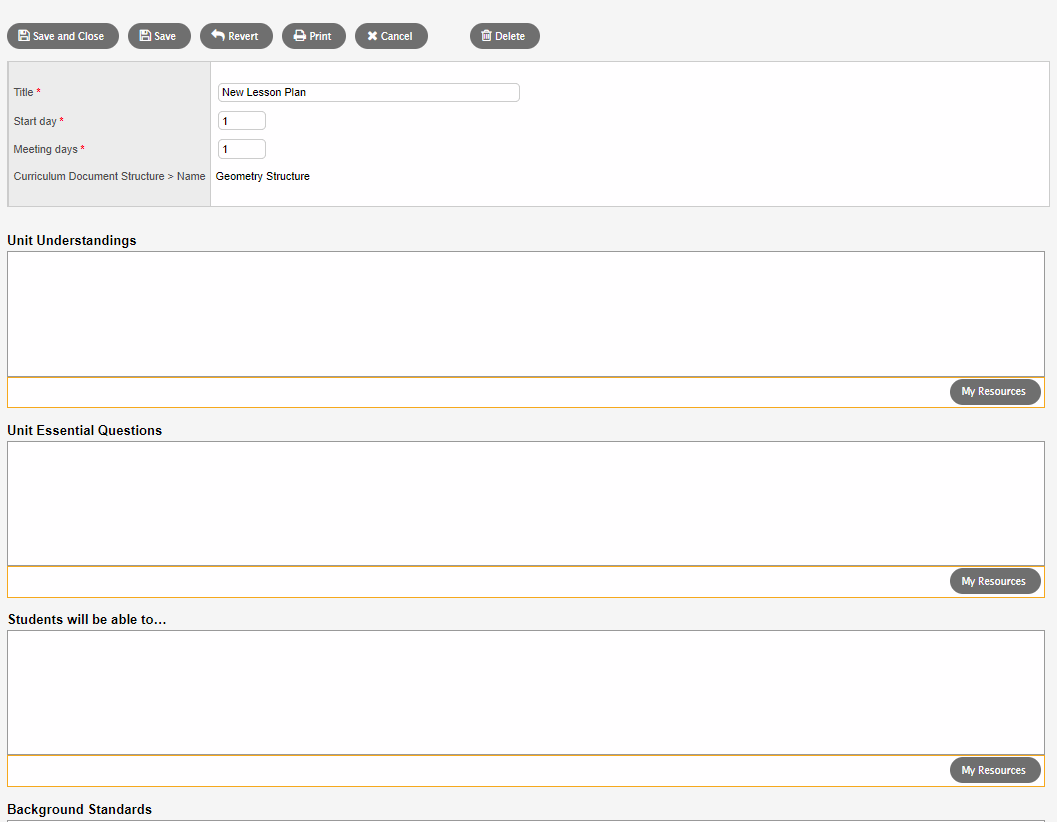
- Use the table to enter information into the fields at the top of the pop-up.
Note: If this lesson plan and its content already exists in another document format, such as Microsoft Word, you can copy and paste text from that document to the appropriate elements and fields in Aspen IMS to save time.
-
Field
Description
Title
Type a title for the lesson plan.
Start day
Type the number representing the school day that the teacher of the course assigned to this map should begin this lesson plan.
For example, if a teacher should begin the lesson on the first day of school, type 1. The next unit might start on day 21.
Meeting days
Type the number of days this lesson plan should be covered.
Note: This is the number of instruction days (days on which the course is scheduled). For example, a lesson plan for a chapter map topic might cover 4 instruction days.
Curriculum Document Structure Name
The lesson plan structure name you selected when you defined the details of the curriculum map appears.
- The remainder of the pop-up contains the fields or columns that were created when the document structure for lesson plans was created.
- For each field, click My Resources to access your personal resources and any shared resources (including
-
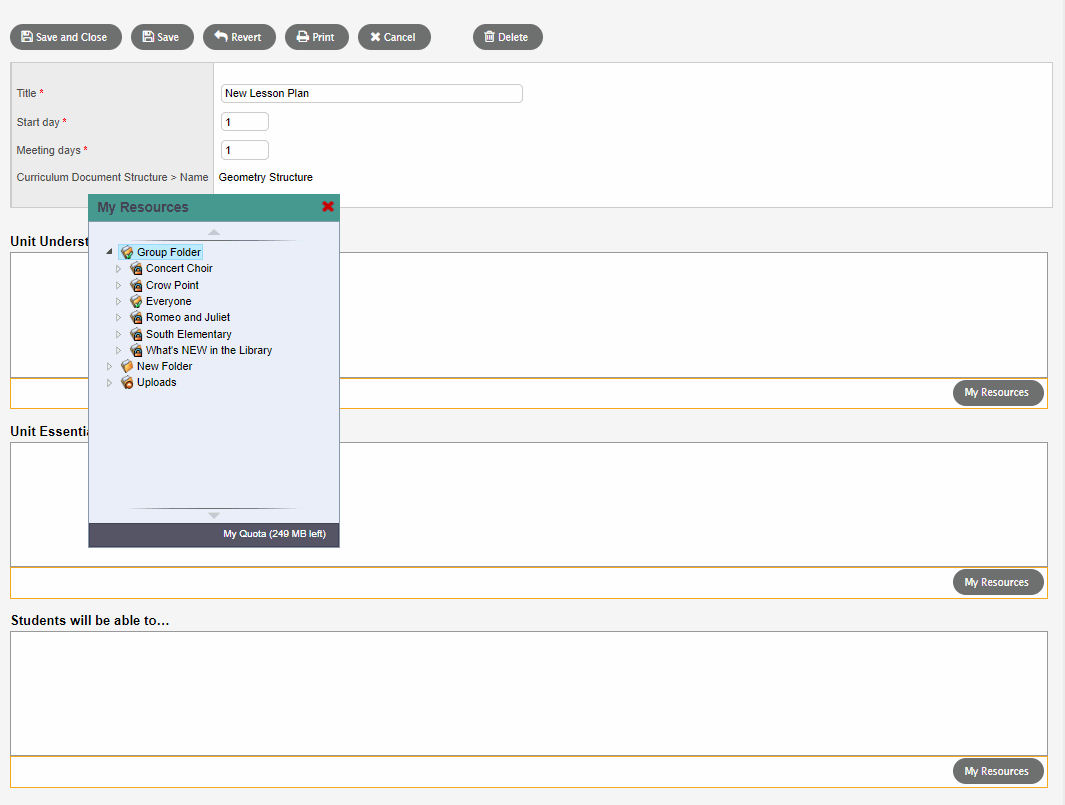
- Click, drag, and drop any items from My Resources to the field you want them to be available for.
- At the bottom of the pop-up, you can align this lesson plan to standards.
- Click Save and Close at the top or bottom of the pop-up to save the information for the lesson plan.
- You can also do the following:
- Click Save to save the information you enter without closing the pop-up.
- Click Revert to return to the information you had the last time the lesson plan was saved.
- Click Print to print the lesson plan.
- Click Delete to delete the lesson plan.